参考链接
疑问
这里配置生产者、消费者 每一个都需要在yml配置,看起来很复杂,不知道有没有简单的配置方法
pom 添加依赖
方式一
            org.springframework.cloud
            spring-cloud-stream-binder-rabbit
            4.1.0
方式二
    org.springframework.cloud
    spring-cloud-starter-stream-rabbit
    4.1.0
yml 配置文件
rabbitmq 配置
spring:
  cloud:
    stream:
      binders:
        rabbit:
          type: rabbit
          environment: #配置rabbitmq连接环境
            spring:
              rabbitmq:
                host: ip
                username: admin
                password: admin
                virtual-host: my_vhost
这里我把生产者 消费者放在一个项目测试,可以在不同想目放生产者、消费者
消费者 配置
spring:
  cloud:
    stream:
      bindings:
        # in 消费者
        test-in-0:
          content-type: application/json
          destination: test-destination
          group: test-group
          binder: rabbit
        test1-in-0:
          content-type: application/json
          destination: test1-destination
          group: test1-group
          binder: rabbit
        test2-in-0:
          content-type: application/json
          destination: test2-destination
          group: test2-group  # 队列
          binder: rabbit
    function:
      definition: test;test1;test2
消费者
@Component
public class ConsumerTest {
    /**
     * 注意方法名称 demo 要与配置文件中的spring.cloud.stream.bindings.demo-in-0 保持一致
     * 其中 -in-0 是固定写法,in 标识消费者类型,0是消费者索引
     */
    @Bean
    public Consumer test() {
        return person -> {
            System.out.println("Received: " + person);
        };
    }
    @Bean
    public Consumer test1() {
        return msg -> {
            System.out.println("Received: " + msg);
        };
    }
    @Bean
    public Consumer test2() {
        return msg -> {
            System.out.println("Received: " + msg);
        };
    }
}
public class Person {
    private string name;
    public String getName() {
        return name;
    }
    public void setName(String name) {
        this.name = name;
    }
    public String toString() {
        return this.name;
    }
}
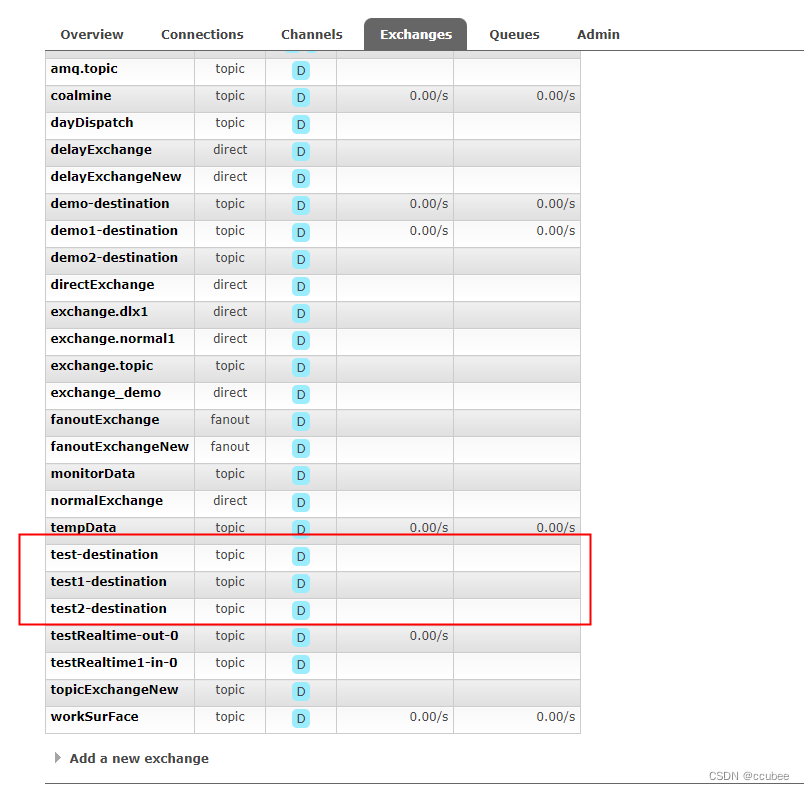
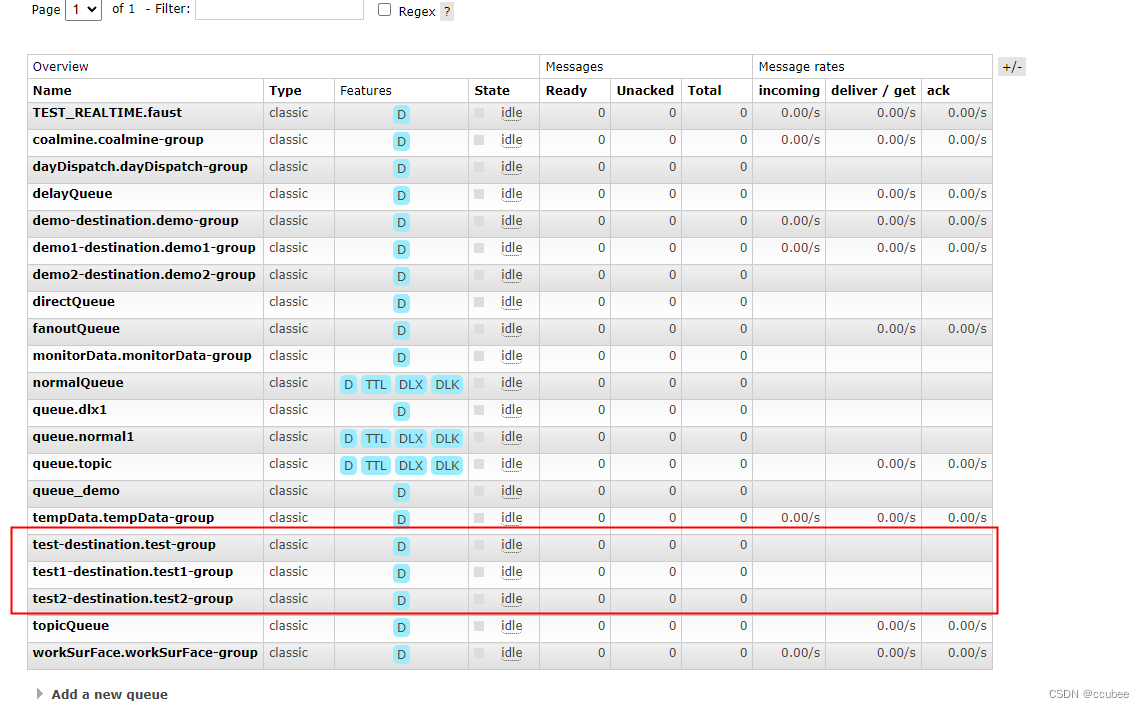
启动后可以在 rabbitmq 控制台看到 生成的 topic、 queue
配置生产者
yml
spring:
  cloud:
    stream:
      bindings:
        # 生产者
        test-out-0:
          content-type: application/json
          destination: test-destination  # topic
          binder: rabbit
        test1-out-0:
          content-type: application/json
          destination: test1-destination
          binder: rabbit
        test2-out-0:
          content-type: application/json
          destination: test2-destination
          binder: rabbit
测试代码
package com.example.demorabbit;
import lombok.RequiredArgsConstructor;
import org.springframework.beans.factory.annotation.Autowired;
import org.springframework.cloud.stream.function.StreamBridge;
import org.springframework.messaging.Message;
import org.springframework.messaging.support.MessageBuilder;
import org.springframework.web.bind.annotation.GetMapping;
import org.springframework.web.bind.annotation.RestController;
@RestController
@RequiredArgsConstructor
public class ProducerController {
    private final StreamBridge streamBridge;
    @GetMapping("sendMsg")
    public String sendMsg(int delay, String name) {
        Person person = new Person();
        person.setName(name);
//        Message message = MessageBuilder.withPayload(person)
//                .setHeader("x-delay", delay).build();
//        // 发送延时消息
//        streamBridge.send("demo2-out-0", message);
        streamBridge.send("test1-out-0", person);
        streamBridge.send("test-out-0", person);
        return "发送成功";
    }
}
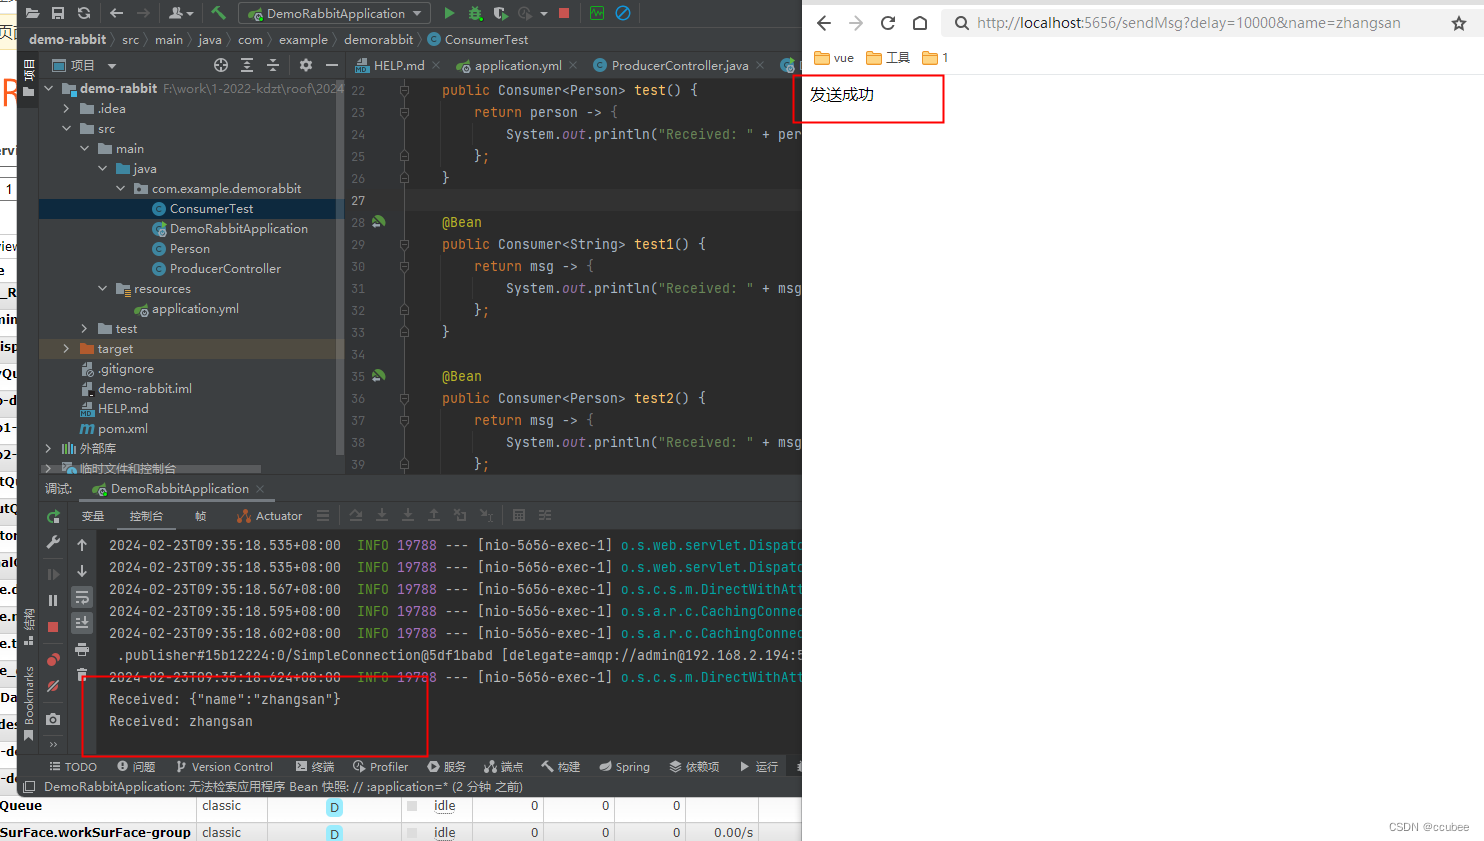
测试发送消息
http://localhost:5656/sendMsg?delay=10000&name=zhangsan
发送接收成功