本文来源公众号“OpenCV与AI深度学习”,仅用于学术分享,侵权删,干货满满。
原文链接:实战 | YOLOv8自定义数据集训练实现手势识别 (标注+训练+预测 保姆级教程)
0 导 读
本文将手把手教你用YoloV8训练自己的数据集并实现手势识别。
1 安装环境

【1】安装torch, torchvision对应版本,这里先下载好,直接安装
pip install torch-1.13.1+cu116-cp38-cp38-win_amd64.whl
pip install torchvision-0.14.1+cu116-cp38-cp38-win_amd64.whl

安装好后可以查看是否安装成功,上面安装的gpu版本,查看指令与结果:
import torch
print(torch.__version__)
print(torch.cuda.is_available())
【2】安装ultralytics
pip install ultralytics
【3】下载YoloV8预训练模型: ONNX > OpenVINO > CoreML > TFLite">GitHub - ultralytics/ultralytics: NEW - YOLOv8 🚀 in PyTorch > ONNX > OpenVINO > CoreML > TFLite
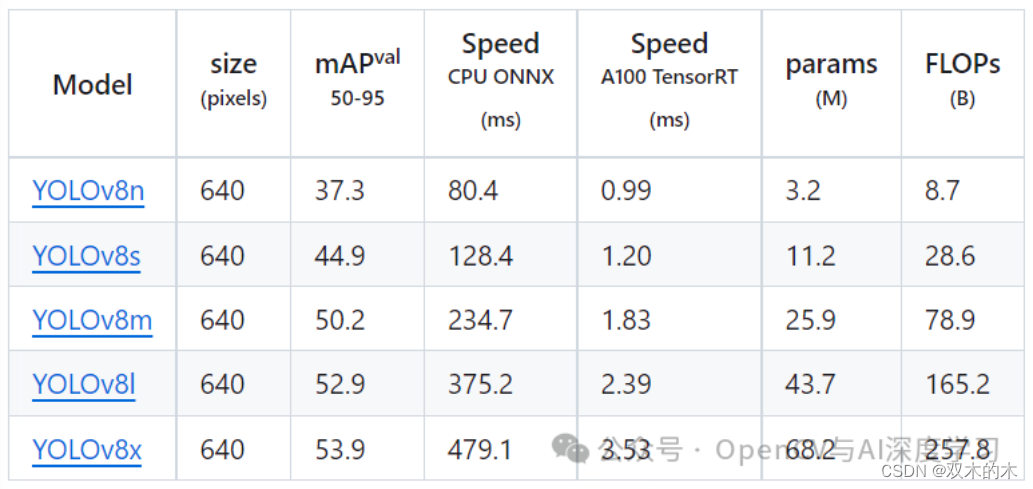
本文使用YOLOv8n,直接下载第一个即可

【4】运行demo测试安装是否成功:
from ultralytics import YOLO
# Load a model
model = YOLO('yolov8n.pt')  # pretrained YOLOv8n model
# Run batched inference on a list of images
results = model(['1.jpg', '2.jpg'])  # return a list of Results objects
# Process results list
for result in results:
    boxes = result.boxes  # Boxes object for bounding box outputs
    masks = result.masks  # Masks object for segmentation masks outputs
    keypoints = result.keypoints  # Keypoints object for pose outputs
    probs = result.probs  # Probs object for classification outputs
    result.show()  # display to screen
    result.save(filename='result.jpg')  # save to disk

2 标注/制作数据集
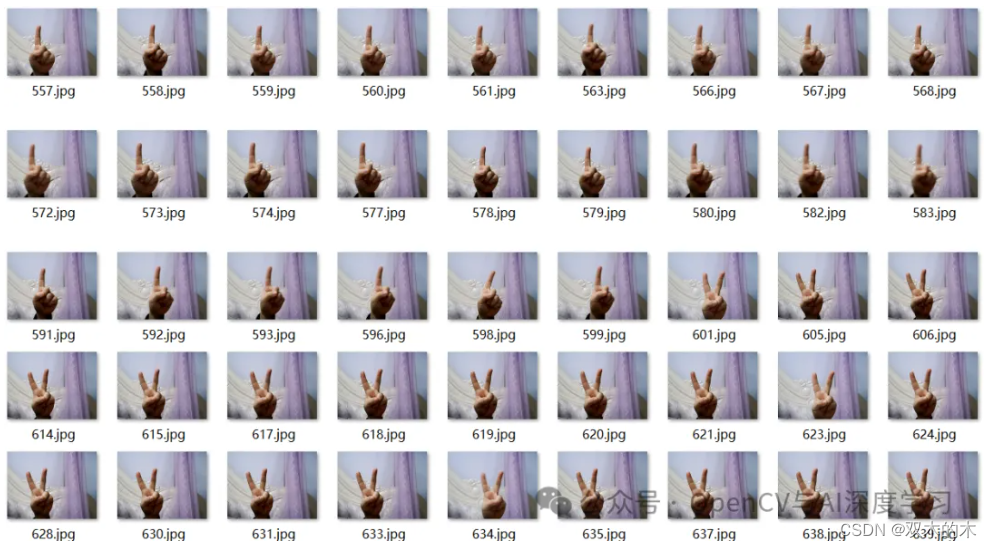
【1】准备好待标注图片
可以自己写一个从摄像头存图的脚本保存一下不同手势图到本地,这里提供一个供参考:
# -*- coding: utf-8 -*-
import cv2
cap = cv2.VideoCapture(0)
flag = 0
if(cap.isOpened()): #视频打开成功
  flag = 1
else:
  flag = 0
  print('open cam failed!')
if(flag==1):
  while(True):
    cv2.namedWindow("frame")
    ret,frame = cap.read()#读取一帧
    if ret==False: #读取帧失败
      break
    cv2.imshow("frame", frame)
    if cv2.waitKey(50)&0xFF ==27: #按下Esc键退出
      cv2.imwrite("1.jpg",frame)
      break
cap.release()
cv2.destroyAllWindows()
本文使用共3种手势1,2,5,三种手势各300张,大家可以根据实际情况增减样本数量。
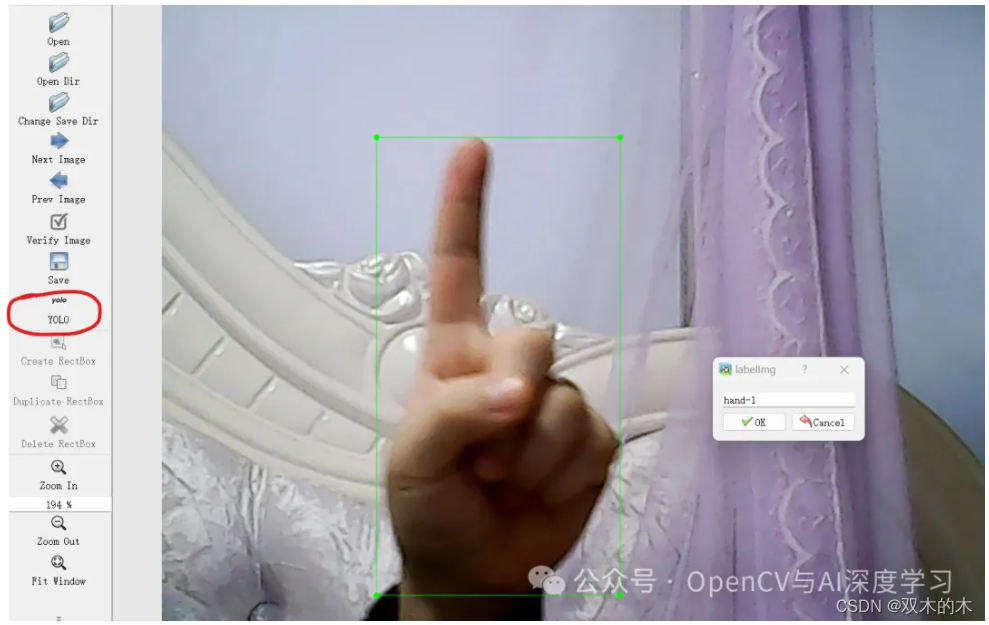
【2】标注样本
标注工具使用labelimg即可,直接pip安装:
pip install labelimg -i https://pypi.tuna.tsinghua.edu.cn/simple

安装完成后,命令行直接输入labelimg,回车即可打开labelimg,数据集类型切换成YOLO,然后依次完成标注即可。
【3】标注划分
标注好之后,使用下面的脚本划分训练集、验证集,注意设置正确的图片和txt路径:
# -*- coding: utf-8 -*-
import os
import random
import shutil
# 设置文件路径和划分比例
root_path = "./voc_yolo/"
image_dir = "./JPEGImages/"
label_dir = "./Annotations/"
train_ratio = 0.7
val_ratio = 0.2
test_ratio = 0.1
# 创建训练集、验证集和测试集目录
os.makedirs("images/train", exist_ok=True)
os.makedirs("images/val", exist_ok=True)
os.makedirs("images/test", exist_ok=True)
os.makedirs("labels/train", exist_ok=True)
os.makedirs("labels/val", exist_ok=True)
os.makedirs("labels/test", exist_ok=True)
# 获取所有图像文件名
image_files = os.listdir(image_dir)
total_images = len(image_files)
random.shuffle(image_files)
# 计算划分数量
train_count = int(total_images * train_ratio)
val_count = int(total_images * val_ratio)
test_count = total_images - train_count - val_count
# 划分训练集
train_images = image_files[:train_count]
for image_file in train_images:
    label_file = image_file[:image_file.rfind(".")] + ".txt"
    shutil.copy(os.path.join(image_dir, image_file), "images/train/")
    shutil.copy(os.path.join(label_dir, label_file), "labels/train/")
# 划分验证集
val_images = image_files[train_count:train_count+val_count]
for image_file in val_images:
    label_file = image_file[:image_file.rfind(".")] + ".txt"
    shutil.copy(os.path.join(image_dir, image_file), "images/val/")
    shutil.copy(os.path.join(label_dir, label_file), "labels/val/")
# 划分测试集
test_images = image_files[train_count+val_count:]
for image_file in test_images:
    label_file = image_file[:image_file.rfind(".")] + ".txt"
    shutil.copy(os.path.join(image_dir, image_file), "images/test/")
    shutil.copy(os.path.join(label_dir, label_file), "labels/test/")
# 生成训练集图片路径txt文件
with open("train.txt", "w") as file:
    file.write("\n".join([root_path + "images/train/" + image_file for image_file in train_images]))
# 生成验证集图片路径txt文件
with open("val.txt", "w") as file:
    file.write("\n".join([root_path + "images/val/" + image_file for image_file in val_images]))
# 生成测试集图片路径txt文件
with open("test.txt", "w") as file:
    file.write("\n".join([root_path + "images/test/" + image_file for image_file in test_images]))
print("数据划分完成!")
接着会生成划分好的数据集如下:
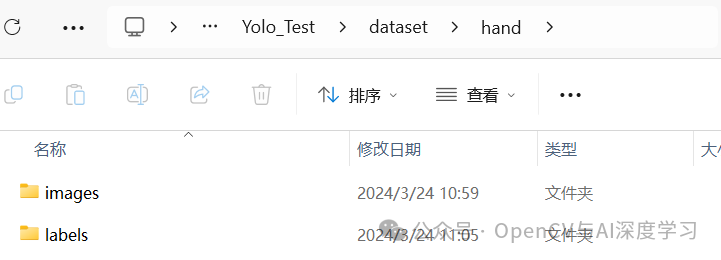
打开images文件夹:
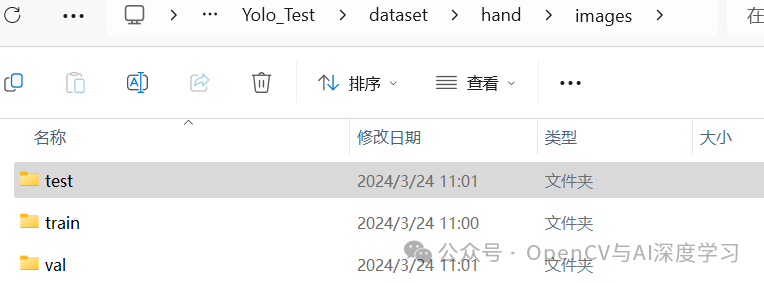
打开images下的train文件夹:

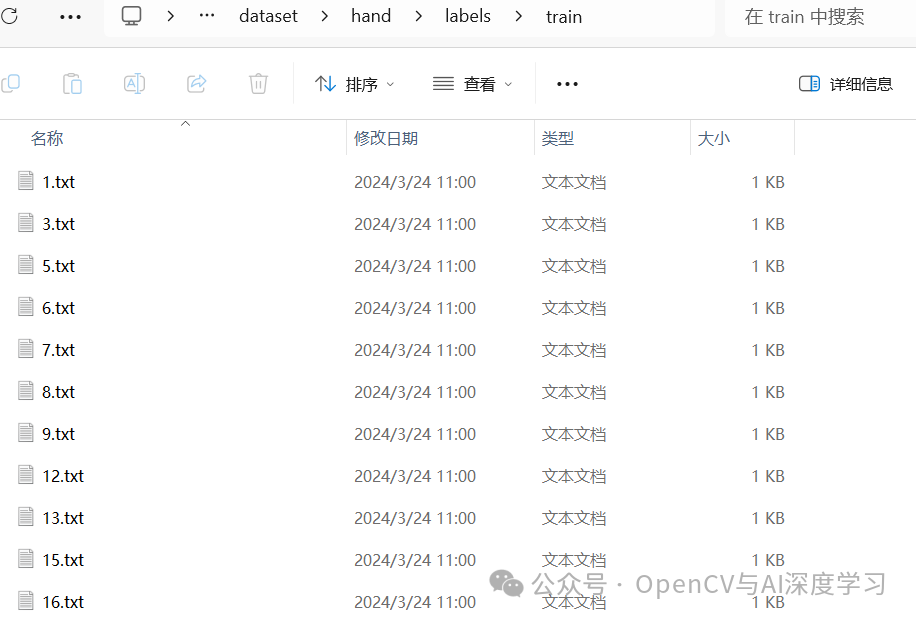
打开labels下的train文件夹:
3 训练与预测
【1】开始训练
训练脚本如下:
from ultralytics import YOLO
# Load a model
model = YOLO('yolov8n.pt')  # load a pretrained model (recommended for training)
results = model.train(data='hand.yaml', epochs=30, imgsz=640, device=[0],
                      workers=0,lr0=0.001,batch=8,amp=False)
hand.yaml内容如下,注意修改自己的数据集路径即可:
# Ultralytics YOLO 🚀, AGPL-3.0 license
# COCO8 dataset (first 8 images from COCO train2017) by Ultralytics
# Documentation: https://docs.ultralytics.com/datasets/detect/coco8/
# Example usage: yolo train data=coco8.yaml
# parent
# ├── ultralytics
# └── datasets
#     └── coco8  ← downloads here (1 MB)
# Train/val/test sets as 1) dir: path/to/imgs, 2) file: path/to/imgs.txt, or 3) list: [path/to/imgs1, path/to/imgs2, ..]
path: E:/Practice/DeepLearning/Yolo_Test/dataset/hand # dataset root dir
train: E:/Practice/DeepLearning/Yolo_Test/dataset/hand/images/train # train images (relative to 'path') 4 images
val: E:/Practice/DeepLearning/Yolo_Test/dataset/hand/images/val # val images (relative to 'path') 4 images
test: # test images (optional)
# Classes
names:
  0: hand-1
  1: hand-2
  2: hand-5
# Download script/URL (optional)
# download: https://ultralytics.com/assets/coco8.zip
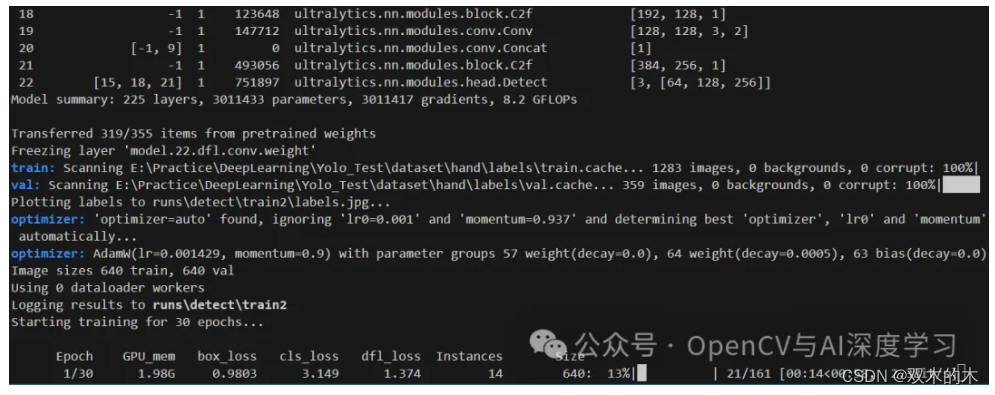
CPU训练将device=[0]改为device='cpu'即可
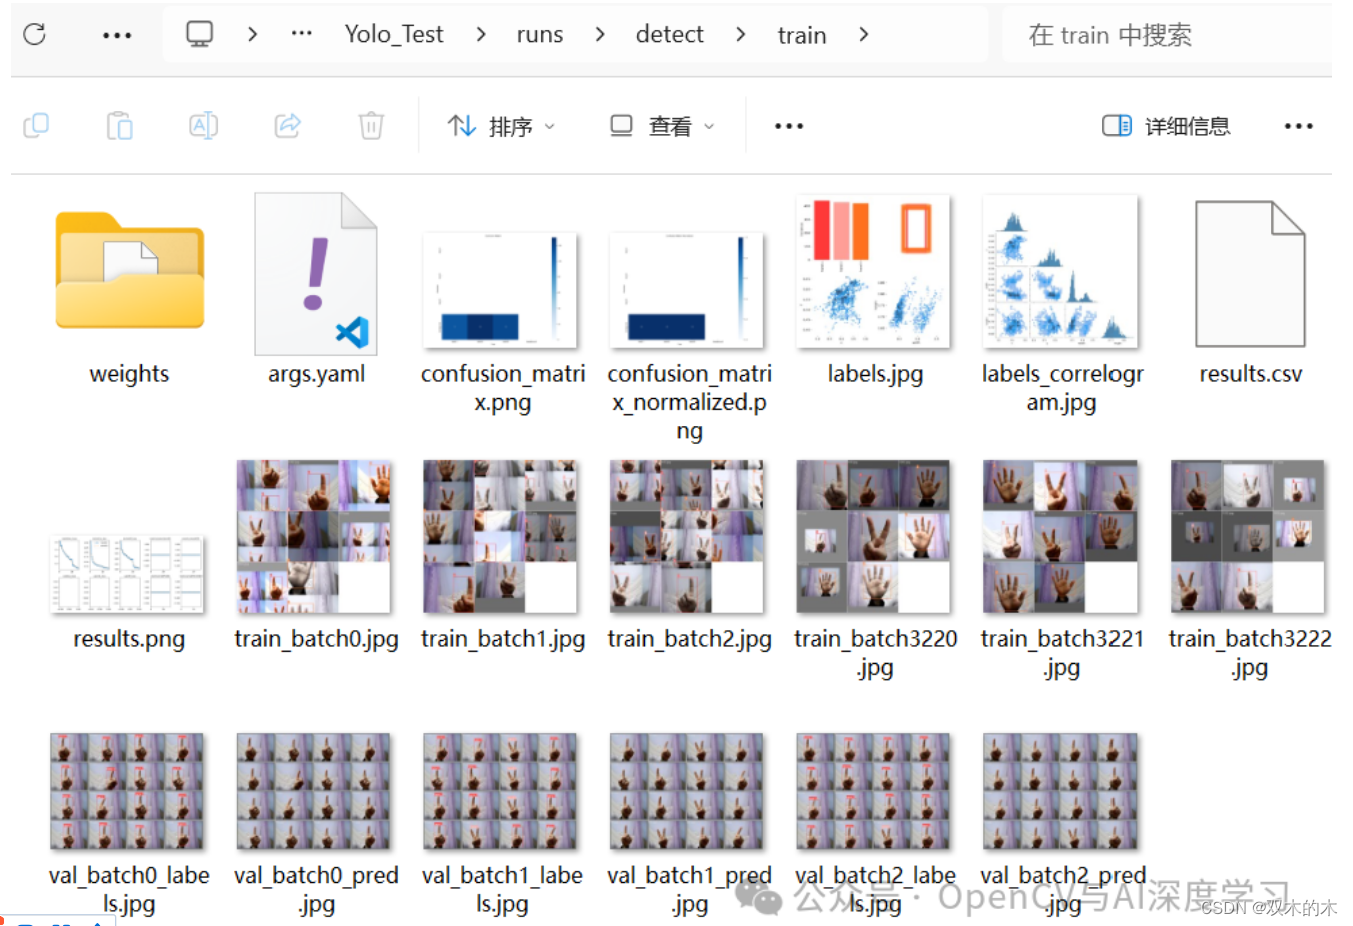
训练完成后再runs/detect/train文件夹下生成如下内容:
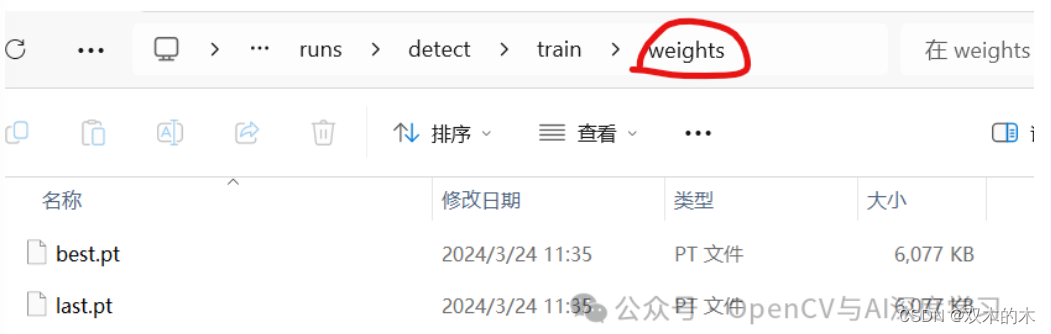
在weights文件夹下生成两个模型文件,直接使用best.pt即可。
【2】预测推理
预测脚本如下:
from ultralytics import YOLO
# Load a model
model = YOLO('best.pt')  # pretrained YOLOv8n model
# Run batched inference on a list of images
results = model(['1 (1).jpg', '1 (2).jpg', '1 (3).jpg'])  # return a list of Results objects
# Process results list
for result in results:
    boxes = result.boxes  # Boxes object for bounding box outputs
    masks = result.masks  # Masks object for segmentation masks outputs
    keypoints = result.keypoints  # Keypoints object for pose outputs
    probs = result.probs  # Probs object for classification outputs
    result.show()  # display to screen
    result.save(filename='result.jpg')  # save to disk
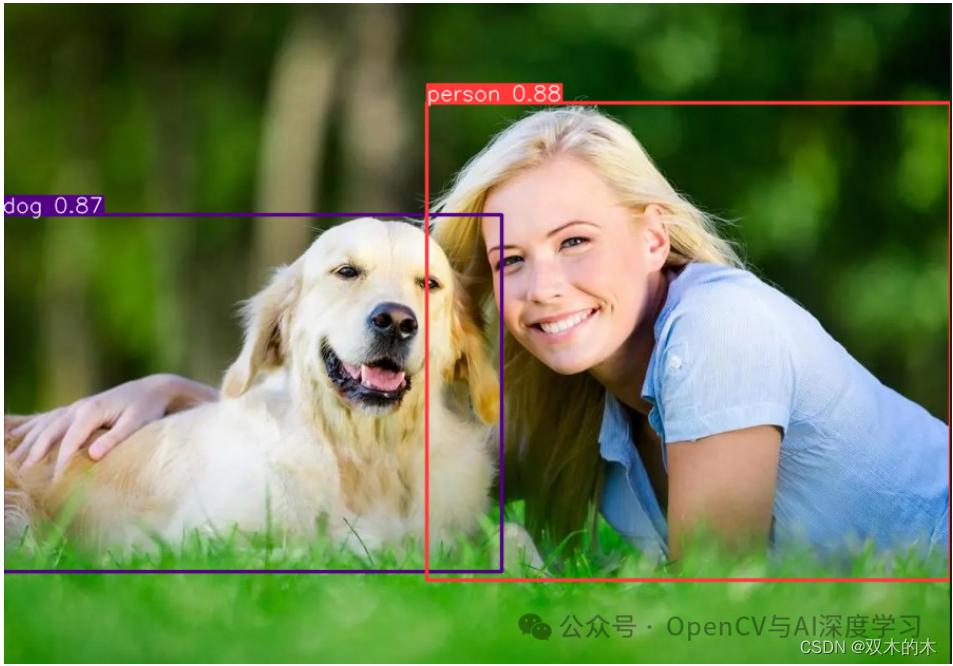
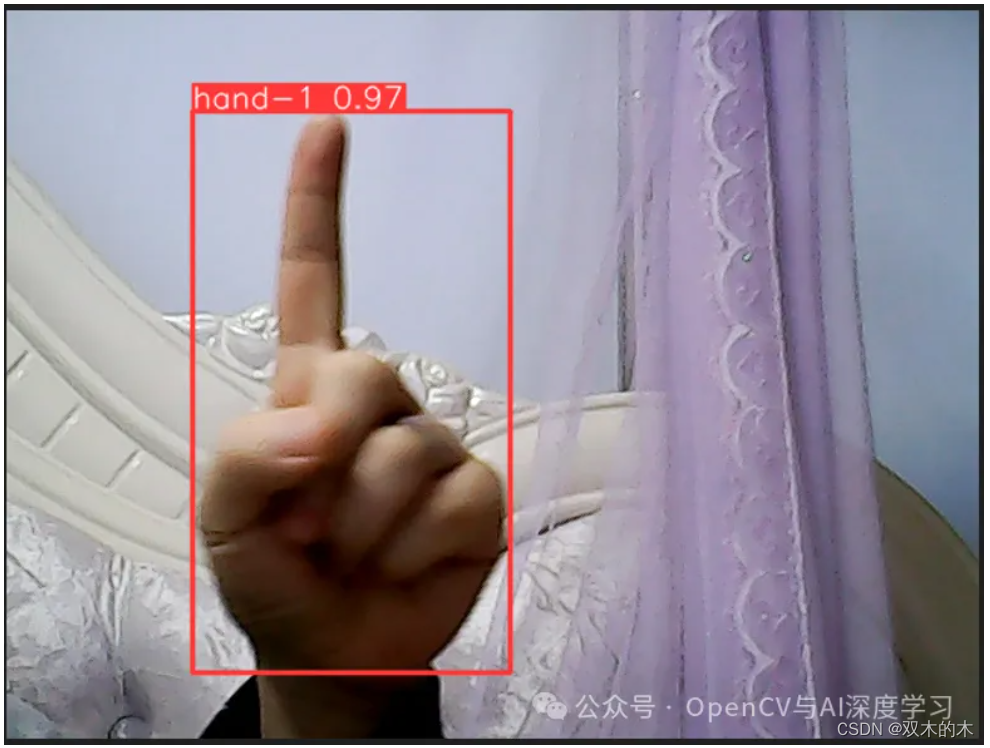
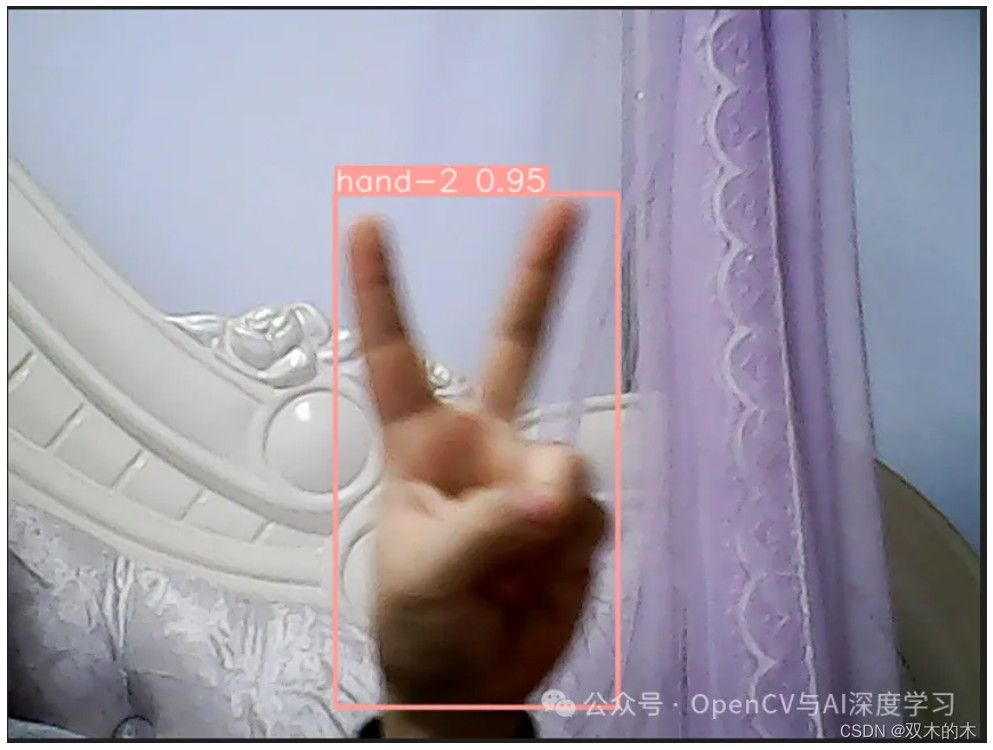
预测结果:

—THE END—
THE END!
文章结束,感谢阅读。您的点赞,收藏,评论是我继续更新的动力。大家有推荐的公众号可以评论区留言,共同学习,一起进步。