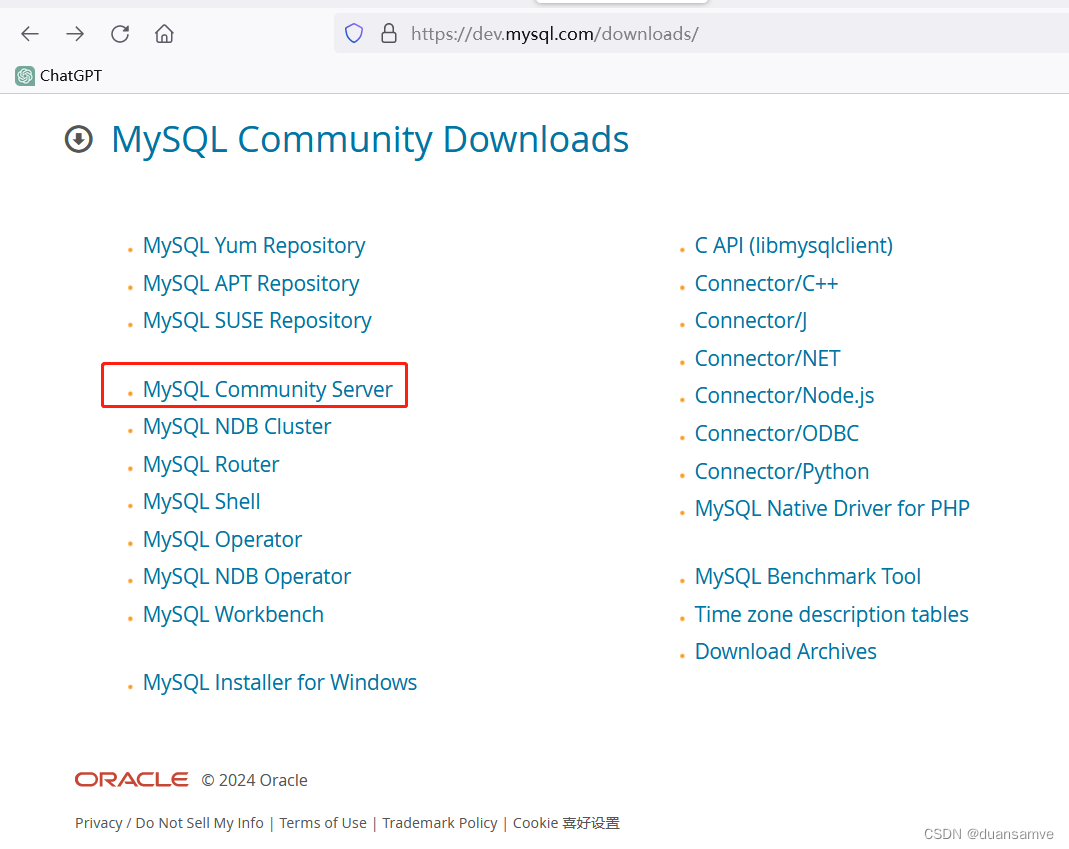
1、下载MySQL安装包

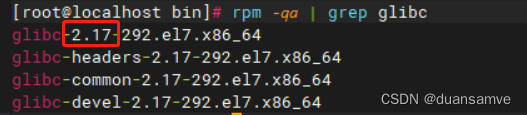
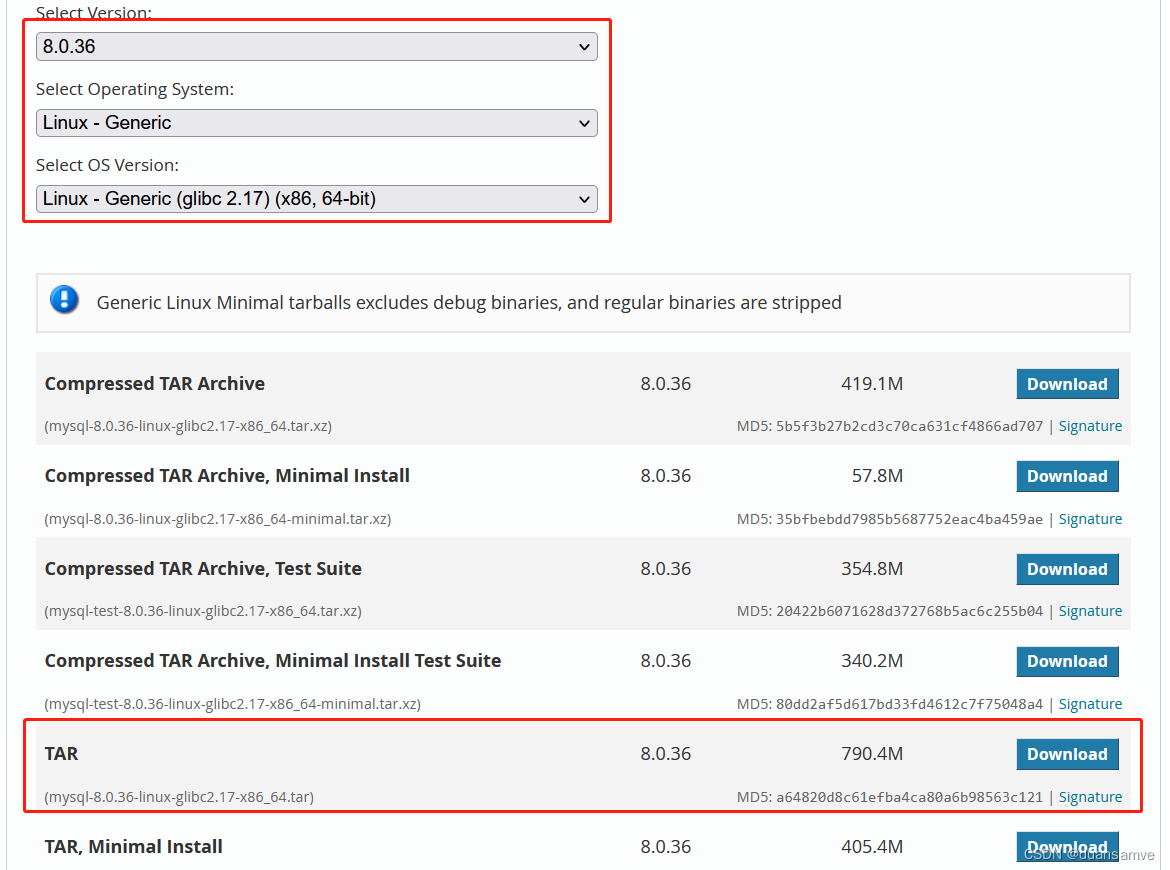
下载哪个版本,首先需要确定一下系统的glibc版本,使用如下命令:
rpm -qa | grep glibc
2、检查是否安装过mysql
ps:因为以前用yum安装过,所以先用yum卸载。如果不是此方式或者没安装过则跳过
[root@localhost ~]# yum remove mysql
已加载插件:fastestmirror
参数 mysql 没有匹配
不删除任何软件包
查看是否有mysql依赖
[root@localhost ~]# rpm -qa | grep mysql
如果有则卸载
//普通删除模式
rpm -e xxx(mysql_libs)
//强力删除模式,如果上述命令删除时,提示有依赖其他文件,则可以用该命令对其进行强力删除
rpm -e --nodeps xxx(mysql_libs)
3、检查是否有mariadb
[root@localhost ~]# rpm -qa | grep mariadb
mariadb-libs-5.5.68-1.el7.x86_64
如果有则卸载
[root@localhost ~]# rpm -e --nodeps mariadb-libs
[root@localhost ~]# rpm -e --nodeps mariadb-libs-5.5.68-1.el7.x86_64
错误:未安装软件包 mariadb-libs-5.5.68-1.el7.x86_64
4、安装mysql依赖包
[root@localhost home]# yum install libaio
5、解压
进入/opt目录下将mysql文件解压
[root@localhost home]# cd /opt
[root@localhost opt]# tar -xvf mysql-8.0.36-linux-glibc2.17-x86_64.tar
mysql-test-8.0.36-linux-glibc2.17-x86_64.tar.xz
mysql-8.0.36-linux-glibc2.17-x86_64.tar.xz
mysql-router-8.0.36-linux-glibc2.17-x86_64.tar.xz
[root@localhost opt]# tar -Jxvf mysql-8.0.36-linux-glibc2.17-x86_64.tar.xz
[root@localhost opt]# mv mysql-8.0.36-linux-glibc2.17-x86_64 mysql
按照习惯,我们将文件移动到/usr/local目录下
[root@localhost opt]# mv /opt/mysql/ /usr/local/
我们切换到usr/local/目录下查看mysql是否存在
[root@localhost opt]# cd /usr/local/
[root@localhost local]# ll
总用量 0
drwxr-xr-x.  2 root root   6 4月  11 2018 bin
drwxr-xr-x.  2 root root   6 4月  11 2018 etc
drwxr-xr-x.  2 root root   6 4月  11 2018 games
drwxr-xr-x.  2 root root   6 4月  11 2018 include
drwxr-xr-x.  2 root root   6 4月  11 2018 lib
drwxr-xr-x.  2 root root   6 4月  11 2018 lib64
drwxr-xr-x.  2 root root   6 4月  11 2018 libexec
drwxr-xr-x.  9 root root 129 4月   2 21:20 mysql
drwxr-xr-x. 11 root root 151 8月  28 2023 nginx
drwxr-xr-x.  2 root root   6 4月  11 2018 sbin
drwxr-xr-x.  5 root root  49 8月  29 2023 share
drwxr-xr-x.  2 root root   6 4月  11 2018 src
创建数据库文件存放的文件夹。这个文件夹将来存放每个数据库的库文件
[root@localhost local]# cd mysql
[root@localhost mysql]# ls
bin  docs  include  lib  LICENSE  man  README  share  support-files
[root@localhost mysql]# mkdir mysqldb
7、mysql安装目录赋予权限
[root@localhost mysql]# chmod -R 777 /usr/local/mysql/
8、创建mysql组和用户
创建组
[root@localhost mysql]# groupadd mysql
创建用户(-s /bin/false参数指定mysql用户仅拥有所有权,而没有登录权限)
[root@localhost mysql]# useradd -r -g mysql -s /bin/false mysql
将用户添加到组中
[root@localhost mysql]# chown -R mysql:mysql ./
9、修改mysql配置文件
[root@localhost mysql]# vi /etc/my.cnf
将里面的命令都删除掉,然后添加以下命令,保存并退出(如果有一定经验,可以在里面添加一些其他的配置)
[mysqld]
# 设置3306端口
port=3306
# 设置mysql的安装目录
basedir=/usr/local/mysql
# 设置mysql数据库的数据的存放目录
datadir=/usr/local/mysql/mysqldb
# 允许最大连接数
max_connections=10000
# 允许连接失败的次数。这是为了防止有人从该主机试图攻击数据库系统
max_connect_errors=10
# 服务端使用的字符集默认为UTF8
character-set-server=utf8
# 创建新表时将使用的默认存储引擎
default-storage-engine=INNODB
# 默认使用“mysql_native_password”插件认证
default_authentication_plugin=mysql_native_password
[mysql]
# 设置mysql客户端默认字符集
default-character-set=utf8
[client]
# 设置mysql客户端连接服务端时默认使用的端口
port=3306
default-character-set=utf8
10、安装mysql
进入mysql 安装目录下:
[root@localhost mysql]# cd /usr/local/mysql/bin/
安装mysql,并记住初始化随机密码
[root@localhost bin]# ./mysqld --initialize --console
2024-04-02T13:25:55.133890Z 0 [Warning] [MY-010918] [Server] 'default_authentication_plugin' is deprecated and will be removed in a future release. Please use authentication_policy instead.
2024-04-02T13:25:55.133913Z 0 [System] [MY-013169] [Server] /usr/local/mysql/bin/mysqld (mysqld 8.0.36) initializing of server in progress as process 2186
2024-04-02T13:25:55.139191Z 0 [Warning] [MY-013242] [Server] --character-set-server: 'utf8' is currently an alias for the character set UTF8MB3, but will be an alias for UTF8MB4 in a future release. Please consider using UTF8MB4 in order to be unambiguous.
2024-04-02T13:25:55.154304Z 1 [System] [MY-013576] [InnoDB] InnoDB initialization has started.
2024-04-02T13:25:55.706150Z 1 [System] [MY-013577] [InnoDB] InnoDB initialization has ended.
2024-04-02T13:25:57.058187Z 6 [Note] [MY-010454] [Server] A temporary password is generated for root@localhost:  alter user 'root'@'localhost' IDENTIFIED WITH mysql_native_password BY '123456';
Query OK, 0 rows affected (0.01 sec)
15、设置允许远程登录
mysql> use mysql
Reading table information for completion of table and column names
You can turn off this feature to get a quicker startup with -A
Database changed
mysql> update user set user.Host='%'where user.User='root';
Query OK, 1 row affected (0.01 sec)
Rows matched: 1  Changed: 1  Warnings: 0
mysql> flush privileges;
Query OK, 0 rows affected (0.00 sec)
mysql> quit
Bye
16、重启服务且测试
centos6与centos7的服务命令都支持
[root@localhost bin]# systemctl restart mysql
[root@localhost bin]# service mysql restart
Redirecting to /bin/systemctl restart mysql.service
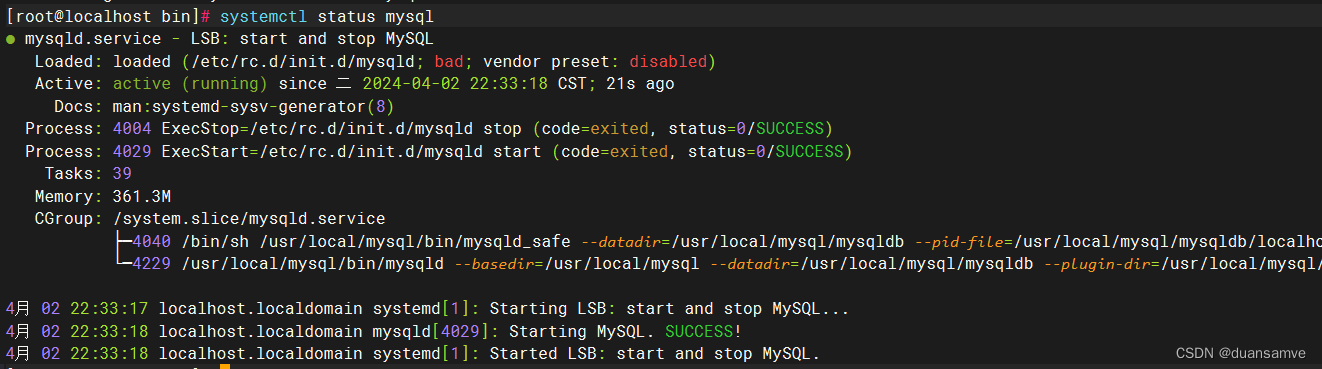
查看mysql是否启动
systemctl status mysql
查看防火墙开放端口
[root@localhost bin]# firewall-cmd --list-all
在防火墙中将3306端口开放
[root@localhost bin]# firewall-cmd --zone=public --add-port=3306/tcp --permanent
success
//--permanent为永久生效,没有此参数 服务器重启后配置失效
[root@localhost bin]# firewall-cmd --reload
success
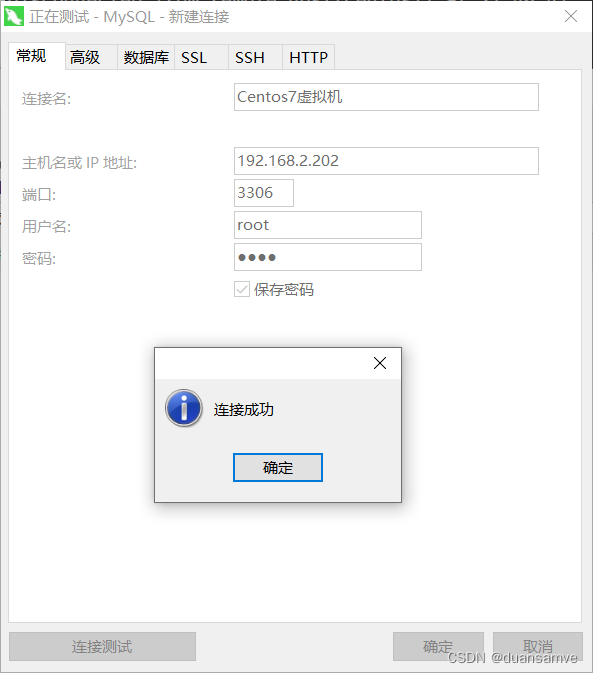
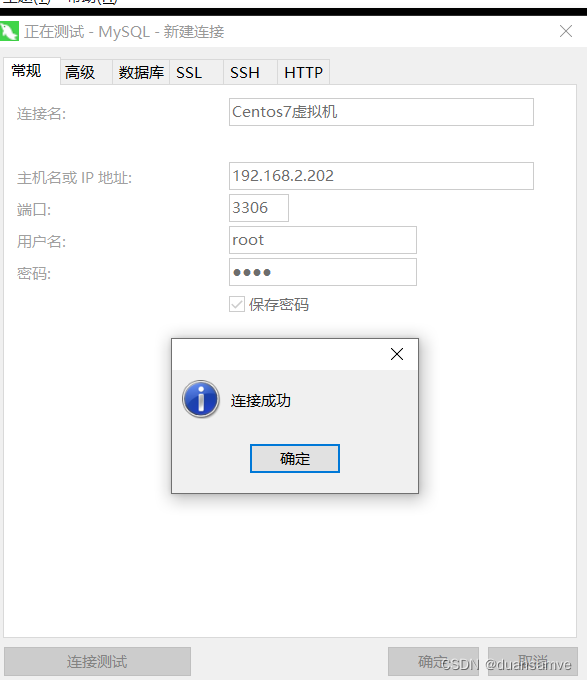
在Navicat上测试连接
重启linux后测试自启动(可选)
reboot
测试mysql服务是否自启动
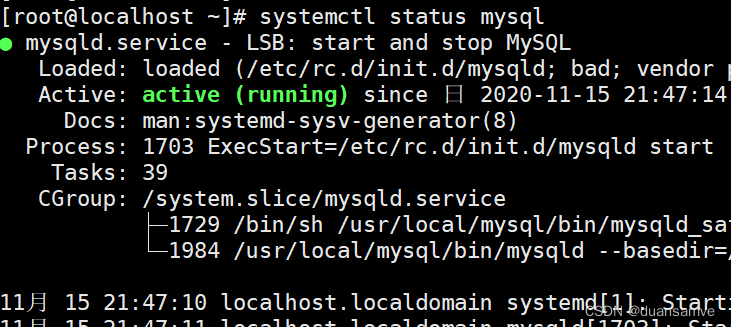 测试远程访问