一、Dockerfile思想
我们正常的对一个项目进行打包 docker image 通常是在CI工具编译时进行对依赖的安装,比如golang的go get、python的pip install、node的npm install 等等
好处:我们更新了依赖可以动态的再编译时进行一个对依赖的更新
坏处:每一次CI时间都很长,浪费大量时间等待发版
下面我们就从2个角度去打包我们自己的Dockerfile
二、两种方式打包
1、合并打包底层依赖

1.1、Dockerfile 文件如下
注意:
1、当前系统和目标系统的不一致时
我们需要指定目标的系统环境:–platform=linux/amd64 (当前我机器为macos)
2、需要requirements.txt文件和Dockerfile在同一个目录中
FROM --platform=linux/amd64 python:3.9.5-slim
# Set the working directory in the container
WORKDIR /app
# Copy the current directory contents into the container at /app
COPY . /app
# 更换 pip 源为阿里云镜像 1
RUN  pip install --no-cache-dir -i https://mirrors.aliyun.com/pypi/simple/ -r requirements.txt
1.2、Requirement.txt文件如下
async-timeout==4.0.3
beautifulsoup4==4.12.2
certifi==2023.11.17
charset-normalizer==3.3.2
colorama==0.4.6
idna==3.6
loguru==0.7.2
mysql-connector-python==8.2.0
numpy==1.26.3
pandas==2.1.4
protobuf==4.21.12
PyMySQL==1.1.0
python-dateutil==2.8.2
pytz==2023.3.post1
redis==5.0.1
requests==2.31.0
schedule==1.2.1
six==1.16.0
soupsieve==2.5
tzdata==2023.4
urllib3==2.1.0
win32-setctime==1.1.0
1.3、进行打包
docker build -t python:3.9-x86-slim-all .
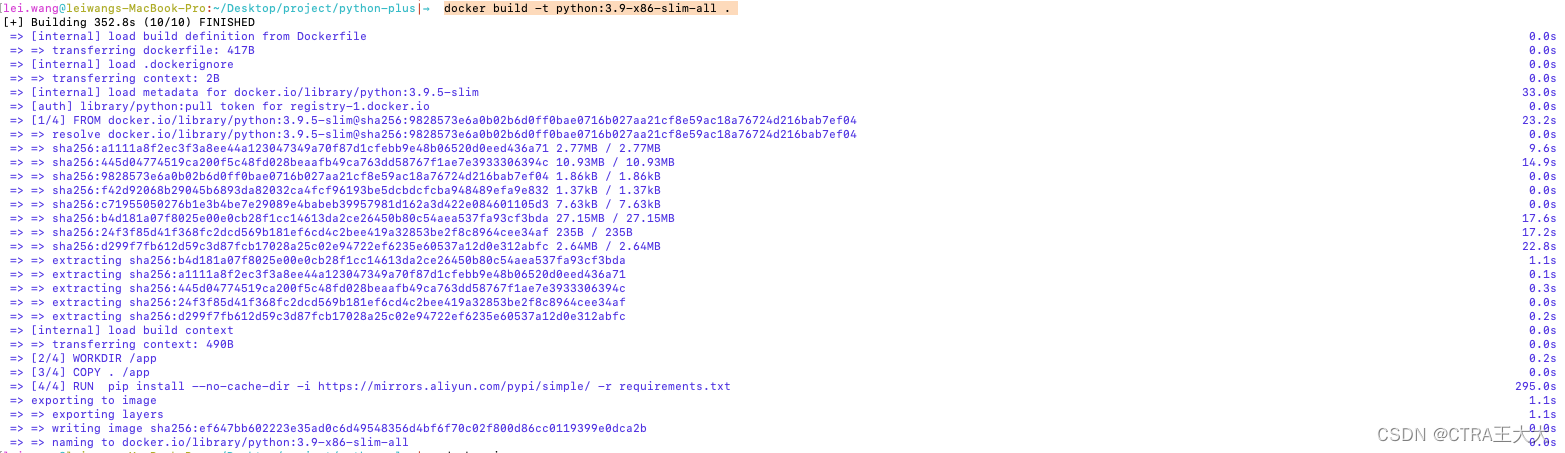
1.4、查看镜像
docker images

1.5、上传至私有镜像仓库(可选)
这里我们使用的是阿里云ACR
需要我们提前在仓库创建好
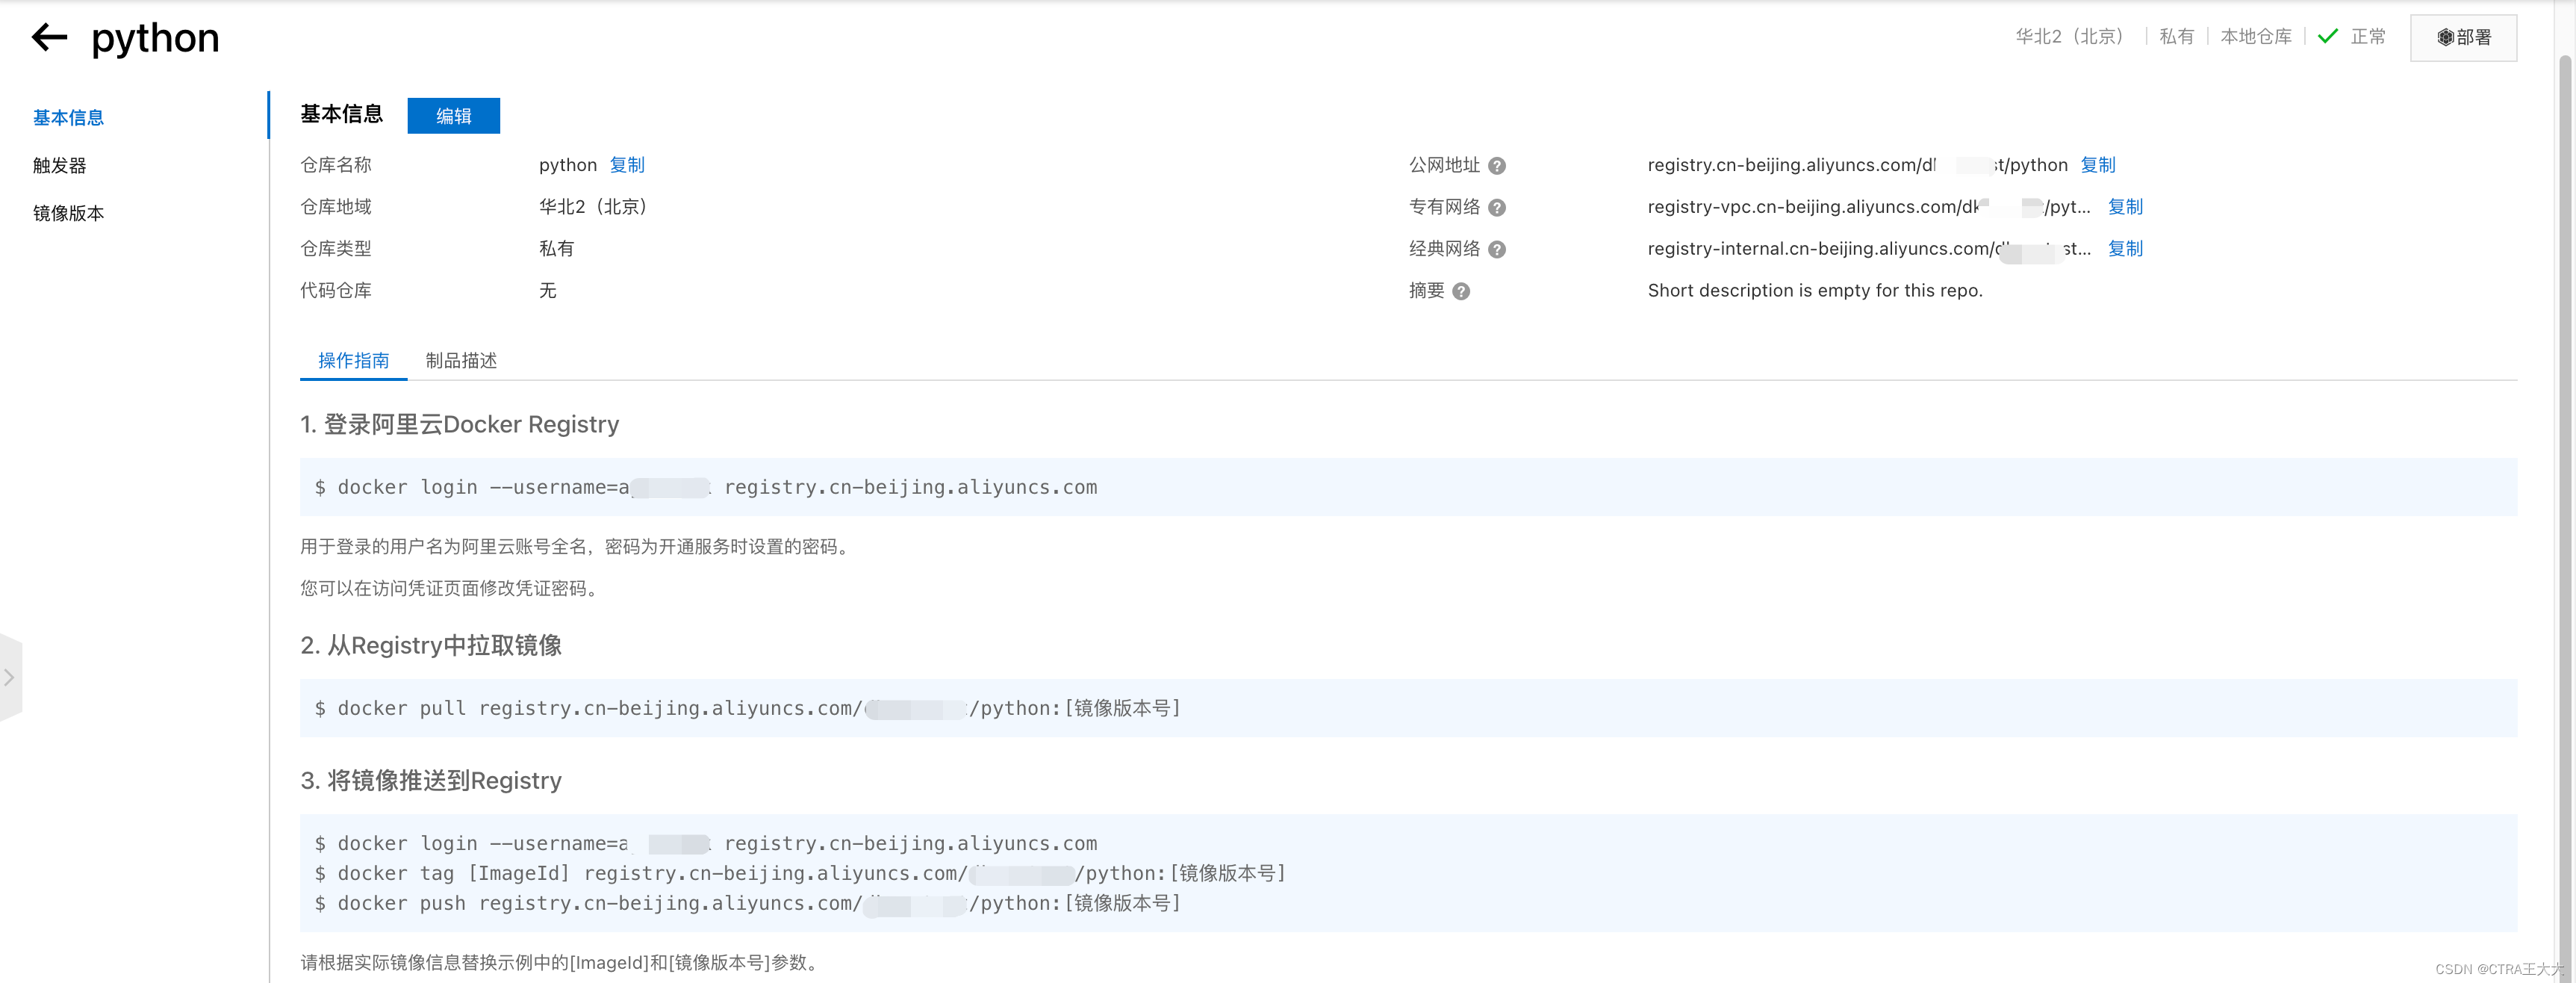
将镜像推送到Registry
docker login --username=xxx registry.cn-beijing.aliyuncs.com
docker tag [ImageId] registry.cn-beijing.aliyuncs.com/xxxx/python:[镜像版本号]
docker push registry.cn-beijing.aliyuncs.com/xxxx/python:[镜像版本号]
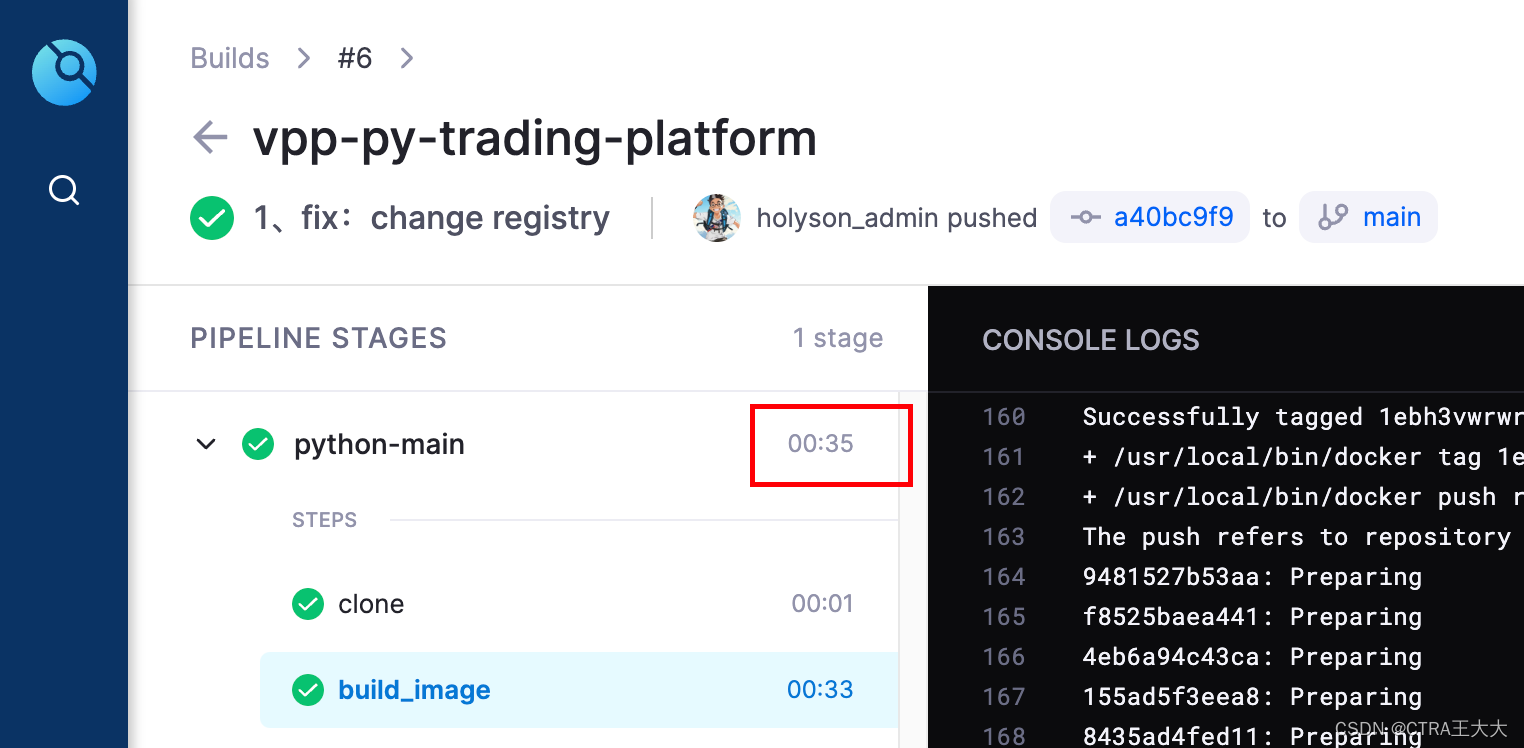
1.6、最终使用
因为 Requirement都打包在 registry.cn-beijing.aliyuncs.com/xxxx/python:3.9-x86-slim-all里面了,所以我们如果需要更改 Requirement就得重新打包底层的镜像
FROM registry.cn-beijing.aliyuncs.com/xxxx/python:3.9-x86-slim-all
# 设置工作目录
WORKDIR /app
# 复制当前目录下的所有文件到工作目录
COPY . /app/
COPY ./gansu/x-ticket/spot_trading/sojson.new.json /app/json/sojson.new.json
# 设置APT的环境变量
ENV DEBIAN_FRONTEND=noninteractive
# 执行主程序
CMD ["python", "gansu/schedule_task.py"]
共计编译用时 35 秒
2、拆分打包底层依赖
2.1、常规Dockerfile写法
这样Requirement中的依赖就可以每次在CI编译时都重新安装一遍
 # 使用官方 Python 镜像作为基础镜像
FROM registry.cn-beijing.aliyuncs.com/xxxx/python:3.9-slim
# 设置工作目录
WORKDIR /app
# 复制当前目录下的所有文件到工作目录
COPY . /app/
COPY ./gansu/x-ticket/spot_trading/sojson.new.json /app/json/sojson.new.json
# 设置APT的环境变量
ENV DEBIAN_FRONTEND=noninteractive
# 更换 pip 源为阿里云镜像,并禁用构建隔离
COPY requirements.txt .
RUN pip install --no-cache-dir --default-timeout=500 --disable-pip-version-check --no-build-isolation -i https://pypi.tuna.tsinghua.edu.cn/simple -r requirements.txt
# 执行主程序
CMD ["python", "gansu/schedule_task.py"]